Hell is Us Puzzle Solutions
Approach notes and answers — spoilers clearly marked.
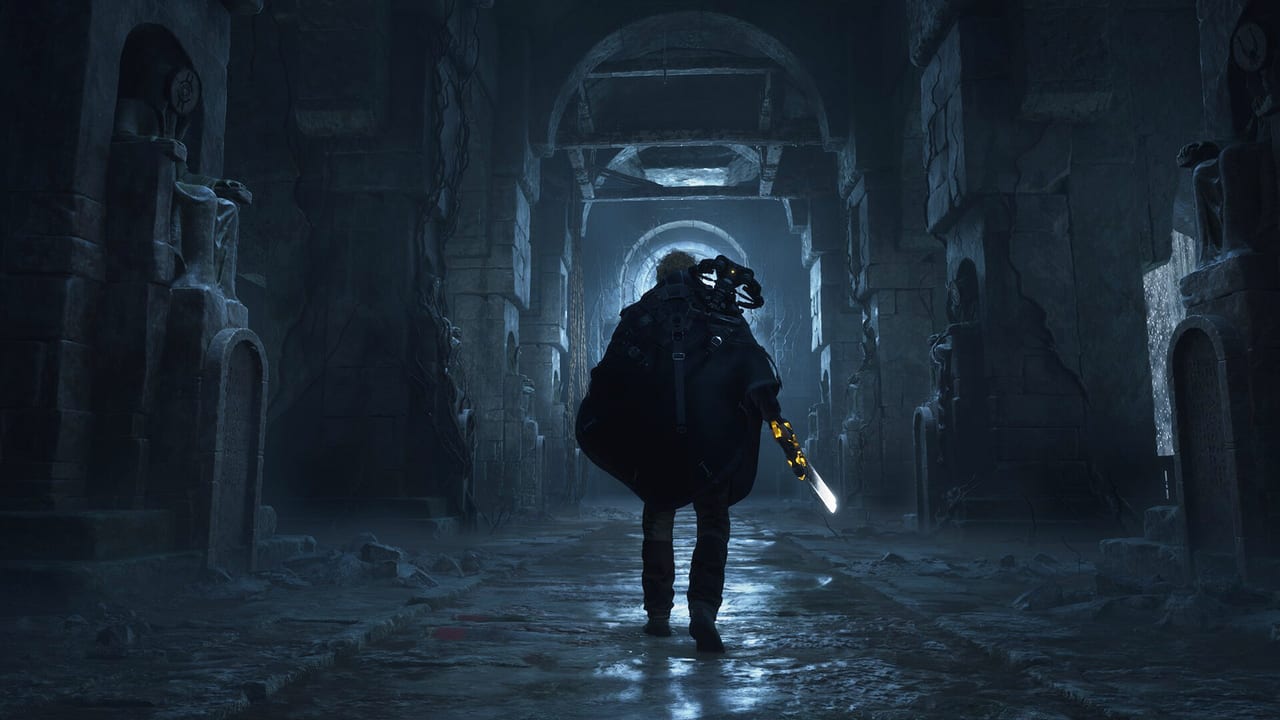
Hell is Us gates progress behind symbol puzzles, statue rotations, and strike-order sequences. This page collects major puzzle solutions with spoiler labels so you can read approach notes first and reveal answers only when needed. Walkthrough order and context live in Act 1 Walkthrough, Act 2 Walkthrough, and No-Map Exploration.
How to use this guide
- Search the area and drone-scan every tablet before opening spoilers.
- Compare symbols on walls, floors, and broken panels.
- Expand the spoiler block only if clues stop making sense.
Numeric lock codes and promo strings, when they exist separately from environmental puzzles, are tracked on Codes.
Senedra Forest — exterior pillar door (Act 1)
Approach: After trading the medkit to OMSIF-0451, climb ladders above the wounded soldier. Insert the Ancient Mechanism into the pedestal to raise three rotatable pillars. Clues appear on a damaged stone panel inside the ruin and a broken fragment on the ground path.
Spoiler — pillar order (left to right): Fire (Crown), Eye, Pickaxe.
The exterior door opens below the ruin. The entrance collapses after you enter — you cannot return immediately.
Senedra Forest — inner dial door (Act 1)
Approach: After the first combat tutorial room, scan archive tablets in the side chamber with your drone. Symbols correspond to concentric rings on the large door.
Spoiler — inner ring to outer ring: Tower, Serpent (Snake), Fire.
Acasa Mars — basement digital lock (Act 1)
Approach: Collect family photos showing numbered cars. One green car digit is smudged on photos — inspect the physical model in the upstairs room before descending.
Spoiler — lock code: 321713.
Watcher’s Nest — ceramic flowers (Act 1)
Approach: During Family Legacy, breach the wall to Pentos Algea’s tomb and take four blue ceramic flowers. Read research terminals upstairs — you need name, title, order, and founding year.
Spoiler — flower placements:
- Warden of Grief emblem slot
- Vigil shield logo slot (facing the three order symbols)
- Algea name plaque slot behind the whiteboard
- Slot to the right of the blue banner (Vigil founding year 1513)
Pull the tomb lever to open the sarcophagus for the Blue Flower Scroll and Relic loot.
Lake Cynon — reservoir pillars and torches (Act 1)
Approach: Find orange-topped marker posts around the meadow and pool. Each post shows a symbol for one strikeable stone pillar. Follow paths behind the pool and up the left hill to collect all five symbols before striking anything.
Spoiler — strike order: Crown, Water (droplet), Key, Star, Cup.
A secret compartment opens on the pool’s rear side with gear and access toward the dungeon. Interior torch puzzles follow the same symbol vocabulary — scan murals before lighting or extinguishing flames.
Marastan — eagle cemetery (Act 2, Terror)
Approach: While investigating the Blood Queen, locate six eagle statues overlooking the cemetery. Tablets describe a uniform facing direction relative to the rising sun.
Spoiler — statue facing: All six eagles face east.
This opens the tomb path toward the Blood Queen’s resting place.
Jeljin — crypt statue puzzles (Act 2, Rage)
Approach: Four crypts require rotating statue facings or displayed symbols. Enter each crypt, observe wall carvings, and rotate until motifs align.
Spoiler — solutions:
| Crypt | Solution |
|---|---|
| Dove | Right, Right, Left, Left |
| Flower | All statues show the Sun symbol |
| Dagger | All statues face left |
| Horse | Left, Right, Right |
Completing crypts yields the Fading Iron Seal needed for Lethe and Auriga travel.
Auriga Museum — entrance statue puzzle (Act 2, Rage)
Approach: Before the training sequence, align museum floor statues with wall reliefs scanned by the drone. Match figure posture to mural scenes.
Spoiler: Align statues to the displayed god poses on the entrance mural triptych — mirror the central panel’s raised arm, flanking panels’ kneeling figures, and the sun disk orientation described in scans. (If statues resist input, re-scan; the museum tutorial resets incorrect pairs.)
Proceed to clearance training, obtain the Beta key card, and descend to B4.
Plains of Mist — Temple pressure plates (Act 2, Ecstasy)
Approach: Two plate rooms gate the Ecstasy Keystone. Murals show safe tile groups; stepping wrong tiles spawns adds or resets the room.
Spoiler — strategy:
- First room: Walk only tiles marked with the single serpent coil motif (outer ring). Ignore cracked tiles.
- Second room: Follow the dual-line path from the entrance mural — step Sun plate first, then Diamond, Sword, and Eye plates in the order shown on the left wall scan (matches inner-door symbol sets from Senedra vocabulary).
Clear add waves between attempts; Healing Pulse between waves — see Combat & Healing Pulse.
Plains of Mist — outer puzzle door
Approach: Before the temple, a serpent-door requires matching embossed plates to symbol shapes on the frame.
Spoiler: Match Twin-Headed Serpent plates to Sword, Diamond, Sun, Eye shapes bottom to top on the door frame (same family as Ecstasy inner locks).
General puzzle tips
- Scan first, rotate second, strike last.
- Symbols recur — Tower, Serpent, Fire, Sun, and Eye appear from Act 1 through Act 3.
- If a puzzle resets, you stepped an wrong tile or rotated an extra quarter-turn — undo one input at a time.
Related guides
- Act 1 Walkthrough
- Act 2 Walkthrough
- Beginner Tips
- Codes — non-environmental codes only
Frequently Asked Questions
Quick answers about Hell is Us progression, combat, and exploration.
Should I solve puzzles without this page?
Yes when possible — scans usually contain answers. Use spoilers only to unblock progress.
Do puzzle solutions change on New Game?
No. Symbol orders and codes are fixed per investigation.
Where is the Senedra inner door clue?
In the archive side room tablets. Drone-scan all three before interacting with the dial.
Are any puzzles timed?
Pressure plates spawn enemies on mistakes but rarely use hard timers. Move carefully instead of rushing.